Introduction
Most people who try to learn programming spend months watching tutorials, reading docs, and completing exercises — and then hit a wall when they try to build something real. The skill they practiced and the skill they needed turn out to be different things.
Project-based learning is the antidote. Instead of studying programming in the abstract, you build things. Real, broken, frustrating, eventually working things. The confusion you feel when your code doesn’t do what you expect is not a sign that you’re doing it wrong — it’s where the actual learning happens.
This is how I learned web development, and it’s the approach I’d follow again.
The Core Idea: Build First, Then Understand
Traditional learning goes: concept → example → exercise. Project-based learning flips it: goal → confusion → understanding. You decide you want to build something, immediately run into problems you don’t know how to solve, and learn specifically what you need to solve them.
This approach has a few concrete advantages:
- Motivation is self-sustaining. You’re working toward something you actually care about finishing.
- You learn in context. Understanding what a
useEffectcleanup function does when you’re debugging a memory leak hits differently than reading about it theoretically. - Your portfolio builds itself. By the end, you have real work to show.
The tradeoff is that early projects feel much harder than tutorial exercises. That discomfort is the signal that you’re learning something.
Part 1 — Get Structured Before You Start Wandering
roadmap.sh
Before picking up a framework or jumping into a project, you need a map. roadmap.sh is one of the best free resources for this. It gives you visual, community-curated learning paths for frontend, backend, DevOps, and more.
Start with the Frontend Roadmap if you’re targeting web development. It shows you exactly what to learn and in what order — HTML and CSS fundamentals first, then JavaScript, then a framework like React. It also tells you what you can skip for now.
Use it to answer the question: “What should I learn next?” — not to learn the things themselves. roadmap.sh is a compass, not a classroom.
Know the foundations before you know a framework
Before you touch React, Vue, or any other framework, you need to be comfortable with:
- HTML structure and semantic markup
- CSS layout (flexbox and grid at a minimum)
- Vanilla JavaScript — DOM manipulation, event listeners, fetch, and async/await
If you skip straight to a framework, you’ll spend your time fighting the framework instead of building your project. The framework abstracts JavaScript — if you don’t know the JavaScript it’s abstracting, debugging anything becomes guesswork.
Part 2 — Scrimba: Where I Actually Learned to Build
When I started learning web development, I went through several resources before finding what clicked. The one that made the biggest difference was Scrimba.
What makes Scrimba different is the format. Instead of watching a video and then switching to your code editor, Scrimba embeds an interactive code environment inside the video player. You can pause at any point, edit the code the instructor is writing, and immediately see what happens. It forces engagement in a way that passive video watching doesn’t.
The courses I found most useful:
- Learn HTML and CSS — the free intro course. Solid for absolute beginners.
- Learn JavaScript — covers the language fundamentals with an active, project-oriented structure.
- Learn React — one of the more thorough free React courses available. Covers hooks, state, components, and builds toward real apps.
- The Frontend Developer Career Path — the flagship paid course. Includes dozens of projects with increasing complexity, challenges, and a direct focus on building a portfolio.
- The Full-Stack Developer Career Path — goes beyond the frontend: covers Node.js, databases, authentication, and deploying backend services. Worth picking up once you’re comfortable with React and want to understand what happens on the server side.
The interactive format keeps you from falling into pure tutorial mode. You’re writing code throughout, not just watching someone else write it.
Disclosure: The Scrimba link above is an affiliate link. If you sign up through it, I get a small commission at no extra cost to you. I recommend it because I actually used it — not because of the commission.
Part 3 — Project Progression: What to Build and When
Phase 1: Guided projects (0–3 months)
In the beginning, follow structured courses (like Scrimba’s career path) and build the projects they assign. Don’t skip them. Don’t just read through without building.
The goal here is to develop muscle memory for the basic workflow: write HTML, style it with CSS, make it interactive with JavaScript. Make mistakes, read error messages, Google things, and fix them. This is the loop.
Good early projects:
- A personal webpage (name, photo, links)
- A product landing page
- A quiz app
- A to-do list
- A weather app using a public API
These aren’t impressive on their own. That’s fine. They’re practice, not portfolio pieces.
Phase 2: Solo projects with real constraints (3–6 months)
Once you’ve built a few guided projects, pick something to build with no tutorial to follow. Apply a real constraint:
- A deadline (give yourself two weeks)
- A user (build it for someone you know)
- A deployment target (it has to be live on the internet)
This is where skills consolidate. When you have to figure out the CSS layout, the API auth, and the deployment pipeline yourself — in the same project — the experience becomes real.
Good solo projects:
- A GitHub profile finder (uses the GitHub API)
- A recipe app with search and filtering
- A simple budgeting tool with local storage
- A clone of a UI you admire (Twitter, Notion, Linear)
Clone projects are especially useful because you can compare your implementation to the original and see exactly where your CSS, UX, or data modeling differs.
Phase 3: Projects that solve real problems (6+ months)
At this point, shift toward building things that have actual users or solve actual problems — even small ones. This doesn’t mean a startup. It means:
- A tool you personally wish existed
- Something for a club, community, or side project
- An open-source contribution
Real problems add requirements you wouldn’t invent in a tutorial: edge cases, error handling, accessibility, mobile layouts, user feedback. These are what separate junior from mid-level work.
Part 4 — AI in Your Learning Journey
AI coding assistants (ChatGPT, Claude, Cursor, GitHub Copilot) are now part of the professional developer workflow. Most working developers use them. But when and how you use them during your learning phase matters a lot.
Early stages: use AI as little as possible
When you’re a beginner, AI can generate working code faster than you can understand it. That’s the problem. If you paste AI output and it works, you haven’t learned anything — you’ve just delayed the moment when you’ll be stuck and have nothing to fall back on.
The manual struggle is the point. Googling an error, reading the MDN page, trying three wrong solutions, and then finding the right one — that process builds understanding that AI-generated code doesn’t give you.
Concrete guidance for early learners:
- Try to solve every error yourself first. Give it 20–30 minutes before asking for help.
- Use AI to explain concepts, not to write code for you. “Explain what
event.preventDefault()does” is useful. “Write a form handler for my app” short-circuits your learning. - Use AI to review code you’ve already written. Ask it what could be improved, not to rewrite it.
Intermediate and beyond: use AI extensively
Once you understand the fundamentals — once you know what good code looks like, can read an error and understand what it means, and can architect a feature before writing it — AI becomes a force multiplier.
At that stage, you’re not using AI because you don’t know what to write. You’re using it because writing boilerplate by hand is slow, and AI handles that faster so you can focus on what actually requires your judgment.
The key is that you need the foundation first. AI assists experienced developers; it doesn’t replace the experience of becoming one.
Part 5 — Tools and Habits That Help
Ship everything
Deploy every project you build, even the small ones. There are several solid free options depending on what you’re building:
- Vercel — the default choice for React, Next.js, and frontend projects. Deploys from GitHub in seconds. Free tier is generous.
- Netlify — similar to Vercel, works well for static sites and simple serverless functions.
- Cloudflare Pages — fast global CDN, free tier, and tight integration with Cloudflare’s ecosystem. Pairs naturally with Cloudflare Workers if you need lightweight backend logic — think API routes, redirects, auth middleware, or KV-backed data — without running a full server. Worth learning if you’re interested in edge computing or want to keep everything in one place.
Having a live URL:
- Forces you to think about production concerns (environment variables, error states, loading states)
- Gives you something real to show people
- Builds the habit of shipping, which is the habit that matters in professional work
Use GitHub from day one
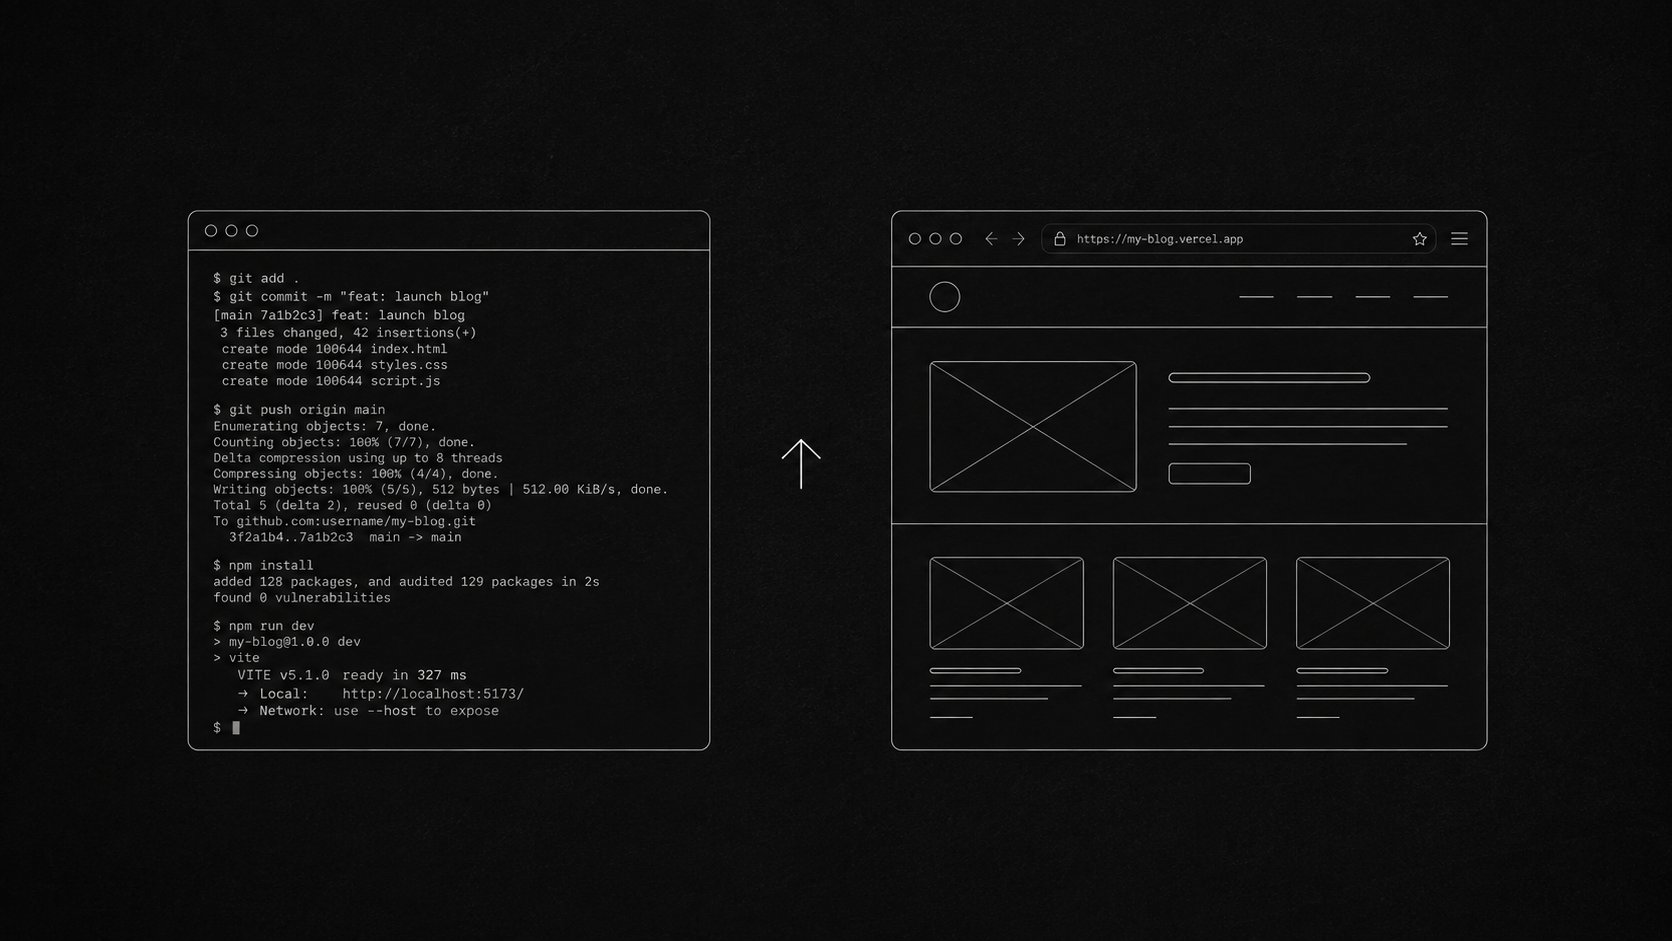
Start every project with a GitHub repository. Commit often — after every feature, every fix, every meaningful change. You don’t need a sophisticated git workflow early on. Just git add . and git commit -m "message" regularly.
Employers look at GitHub activity. Consistent commits over months tell a real story. A sudden burst of commits in the week before you apply does not.
Read other people’s code
Once you’re past the basics, spend time reading code you didn’t write. Good sources:
- Open-source projects on GitHub in the tech stack you’re learning
- Other students’ solutions to the same Scrimba challenges
- Codebases of tools you use regularly
Reading real code exposes you to patterns, conventions, and architectural decisions that no tutorial covers. It also calibrates your sense of what professional-quality code looks like.
Use the browser DevTools
The browser DevTools (F12) are your main debugging environment. Learn to:
- Inspect the DOM and trace why something looks wrong
- Use the Network tab to see what API calls are being made
- Use the Console to run JavaScript interactively
- Use the Sources tab to set breakpoints and step through code
Most beginners skip this. The ones who don’t debug twice as fast.
Part 6 — A Realistic Timeline
Learning curves are not linear. A realistic expectation for someone putting in consistent effort (roughly 1–2 hours per day):
| Milestone | Approximate Time |
|---|---|
| Comfortable with HTML/CSS basics | 4–6 weeks |
| Can build simple JS projects | 2–3 months |
| Can build and deploy React apps | 4–6 months |
| Job-ready (entry-level frontend) | 9–15 months |
These aren’t promises. They depend heavily on how much time you put in and how deliberately you practice. The people who compress this timeline do so by building more projects, not by watching more tutorials.
Summary
The pattern that works for web development:
- Get a roadmap — roadmap.sh tells you what to learn and in what order.
- Learn interactively — Scrimba keeps you building throughout, not just watching.
- Follow the progression — guided projects first, then solo projects, then real-problem projects.
- Go easy on AI early on — manual struggle is how concepts stick. Use AI as a tool once you have foundations, not as a replacement for building them.
- Ship everything — deploy your work, commit regularly, build your GitHub history.
- Read code you didn’t write — it calibrates your sense of quality and exposes patterns you won’t find in tutorials.
The resource you use matters less than the habit of building. Pick something and start.